
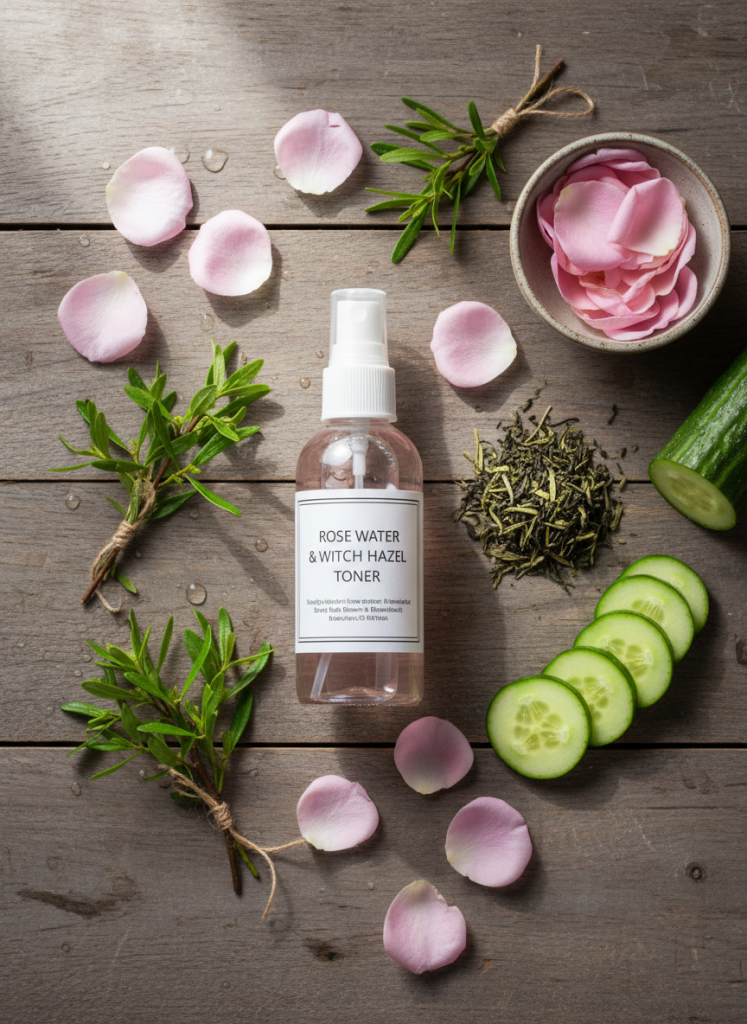
Why Make Your Own Natural Toner?
Commercial toners often contain alcohol, synthetic fragrances, and harsh astringents that strip your skin’s natural barrier. Making your own DIY toner at home puts you in control — you choose the ingredients, tailor them to your skin type, and avoid preservatives and irritants entirely. Plus, homemade toners cost a fraction of what you’d pay at the store.
Natural toners help balance your skin’s pH, tighten pores, remove residual makeup or cleanser, and deliver botanical actives directly to your skin. Whether you have oily, dry, combination, or sensitive skin, there’s a DIY toner recipe below that will work beautifully for you.
Benefits of Using a Natural Face Toner
Toners are making a major comeback in skincare routines, and for good reason. Here’s what a good natural toner does for your skin:
- Restores pH balance — After cleansing, your skin’s pH can be disrupted. A gentle toner helps restore it to its natural slightly acidic state.
- Tightens and minimizes pores — Ingredients like witch hazel and green tea have natural astringent properties that help refine pore appearance.
- Delivers targeted ingredients — Toner is the perfect vehicle for delivering antioxidants, hydrating compounds, and soothing botanicals deep into your skin.
- Removes traces of impurities — A toner sweep after cleansing catches any leftover dirt, oil, or makeup residue.
- Prepares skin for serums and moisturizers — Toned skin absorbs subsequent products more effectively.
Essential Ingredients for DIY Toners
Before we dive into the recipes, here are the key ingredients you’ll want to have on hand:
- Witch hazel — A natural astringent that tightens pores and reduces inflammation. Choose alcohol-free witch hazel for sensitive skin.
- Apple cider vinegar — Helps balance pH and has antibacterial properties. Always dilute it.
- Rose water — Hydrating, soothing, and anti-inflammatory. Excellent for all skin types, especially sensitive and dry skin.
- Green tea — Packed with antioxidants that protect against environmental damage and reduce redness.
- Cucumber juice — Cooling, hydrating, and great for reducing puffiness.
- Aloe vera gel — Hydrating, soothing, and healing. Perfect for sensitive or irritated skin.
- Essential oils — Add therapeutic benefits and natural fragrance. Tea tree (acne-prone), lavender (calming), frankincense (anti-aging).
- Vegetable glycerin — A humectant that draws moisture into the skin without clogging pores.
DIY Toner Recipes
1. Rose Water and Witch Hazel Balancing Toner
Best for: Normal, combination, and sensitive skin
This gentle, floral toner is one of the most popular DIY facial toners for good reason. Rose water soothes and hydrates while witch hazel helps balance oil production.
Ingredients:
- ½ cup pure rose water (distilled or homemade)
- ¼ cup alcohol-free witch hazel
- 5 drops lavender essential oil (optional)
- 1 teaspoon vegetable glycerin (for extra hydration)
Instructions:
- Combine the rose water and witch hazel in a clean glass bottle or jar.
- Add the vegetable glycerin and lavender essential oil if using.
- Screw on the lid and shake well to combine.
- To use: Shake gently, then apply to a cotton pad and sweep over your face after cleansing. Follow with your favorite Facial Glow Oil for added nourishment.
Storage: Store in a cool, dark place for up to 2 weeks, or refrigerate for up to 1 month.
2. Green Tea and Aloe Antioxidant Toner
Best for: Oily, acne-prone, and aging skin
Green tea is loaded with antioxidants that fight free radicals and reduce inflammation. Combined with aloe vera, this toner hydrates without making oily skin greasy.
Ingredients:
- 1 green tea bag (or 1 teaspoon loose leaf green tea)
- ½ cup boiling water
- 2 tablespoons pure aloe vera gel
- 3 drops tea tree essential oil (optional, for acne-prone skin)
Instructions:
- Steep the green tea bag in boiling water for 5-7 minutes. Remove the bag and let the tea cool completely.
- Once cool, stir in the aloe vera gel until fully dissolved.
- Add tea tree oil if using and mix well.
- Transfer to a glass bottle or jar with a tight lid.
- To use: Apply with a cotton pad after cleansing, focusing on oily areas like the T-zone.
Storage: Refrigerate and use within 1 week. This toner is preservative-free and best made in small batches.
3. Apple Cider Vinegar Clarifying Toner
Best for: Oily, acne-prone, and combination skin
Raw, unfiltered apple cider vinegar is a powerhouse for balancing skin pH and fighting acne-causing bacteria. Always dilute it properly — never apply undiluted ACV to your face.
Ingredients:
- 1 tablespoon raw, unfiltered apple cider vinegar (with the “mother”)
- 3 tablespoons distilled or filtered water
- 3 drops frankincense essential oil (optional)
Instructions:
- Combine the apple cider vinegar and water in a small glass bottle. The ratio is 1:3 — if you have sensitive skin, start with 1:4.
- Add frankincense oil and shake well.
- To use: Shake before each use. Apply to a cotton pad and gently sweep over clean skin, avoiding the eye area.
- Follow with a light moisturizer to lock in hydration.
Storage: Keep in a cool, dark place for up to 3 weeks.
4. Cucumber and Mint Cooling Toner
Best for: Dry, dehydrated, and sun-exposed skin
This refreshing toner is incredibly soothing and hydrating. Cucumber is rich in vitamin C and caffeic acid, which reduce puffiness and soothe irritation. Mint provides a cooling sensation and a subtle antiseptic boost.
Ingredients:
- ½ cucumber, peeled and chopped
- 5-6 fresh mint leaves
- ¼ cup distilled water
- 1 teaspoon aloe vera gel (optional)
Instructions:
- Blend the cucumber pieces in a blender until smooth. Strain through a fine-mesh sieve or cheesecloth to extract the juice.
- In a small saucepan, bring the distilled water to a gentle simmer. Remove from heat and add the mint leaves. Let steep for 10 minutes, then strain and cool.
- Combine the cucumber juice, mint water, and aloe vera gel in a glass bottle.
- Refrigerate for at least 30 minutes before first use for the best cooling effect.
- To use: Apply with a cotton pad or spritz directly onto your face. Follow with Smoothing Body Butter for deep hydration.
Storage: Refrigerate and use within 5-7 days. This fresh toner has no preservatives and is best made in small batches.
5. Chamomile and Lavender Calming Toner
Best for: Sensitive, red, or irritated skin
If your skin is easily irritated or prone to redness, this gentle floral toner is your new best friend. Chamomile and lavender work together to calm inflammation and support skin repair.
Ingredients:
- 1 chamomile tea bag (or 1 tablespoon dried chamomile flowers)
- ½ cup boiling water
- 2 tablespoons pure rose water
- 3 drops lavender essential oil
Instructions:
- Steep the chamomile in boiling water for 10 minutes. Remove the tea bag or strain out the flowers. Let cool completely.
- Stir in the rose water and lavender essential oil.
- Transfer to a glass bottle with a tight lid.
- To use: Apply gently with a cotton pad, patting rather than rubbing for sensitive skin. Layer Facial Glow Oil on top for extra soothing benefits.
Storage: Refrigerate and use within 2 weeks.
How to Choose the Right Toner for Your Skin Type
Not all toners work for all skin types. Here’s a quick guide:
| Skin Type | Best Toner Recipe | Key Ingredients to Look For |
|---|---|---|
| Oily / Acne-Prone | ACV Clarifying or Green Tea | Witch hazel, tea tree, green tea, ACV |
| Dry / Dehydrated | Cucumber Mint or Rose Water | Glycerin, aloe vera, rose water, cucumber |
| Sensitive / Reactive | Chamomile Lavender | Chamomile, lavender, rose water, aloe |
| Combination | Rose Water & Witch Hazel | Rose water, witch hazel, green tea |
| Aging / Mature | Green Tea Antioxidant | Green tea, frankincense, rose water |
DIY Toner Tips for Best Results
- Always use clean containers. Sterilize your bottles and jars with boiling water or rubbing alcohol before using them.
- Make small batches. Since homemade toners don’t contain preservatives, they won’t last as long as store-bought versions. Make only what you’ll use in 1-2 weeks.
- Store properly. Keep your toners in a cool, dark place or refrigerate them. Dark glass bottles help protect light-sensitive ingredients.
- Patch test first. Always test a new toner on a small area of skin before applying it to your whole face.
- Use after cleansing. Toner goes on freshly cleansed skin, before serums, oils, or moisturizers.
- Don’t overdo it. Twice a day (morning and night) is plenty. Over-toning can strip your skin.
- Add preservatives if you want longer shelf life. A small amount of vitamin E oil or grapefruit seed extract can naturally extend the life of your toner.
Frequently Asked Questions
Can I use DIY toner every day?
Yes! Most of these natural toners are gentle enough for twice-daily use. If you have sensitive skin, start with once a day and see how your skin responds.
How long does homemade toner last?
It depends on the recipe. Water-based toners with fresh ingredients (like cucumber) last 5-7 days refrigerated. Toners with witch hazel or ACV can last 2-4 weeks. Always check for changes in smell, color, or texture before using.
Do I need to refrigerate my DIY toner?
Refrigeration is recommended but not strictly required for all recipes. Witch hazel- and ACV-based toners are fine at room temperature. Fresh ingredient toners (cucumber, mint, aloe) should be refrigerated.
Can I add essential oils to any toner recipe?
Absolutely — just follow safe dilution guidelines. Most recipes use 3-5 drops of essential oil per ½ cup of liquid. Always dilute essential oils properly, especially if you have sensitive skin.
Will apple cider vinegar toner burn my skin?
Undiluted ACV will burn and irritate your skin. Always dilute it — the 1:3 ratio with water is safe for most skin types. If you feel stinging, dilute further or switch to a gentler recipe.
Is DIY toner cheaper than store-bought?
Yes! Most DIY toners cost less than $2 per batch. Commercial natural toners can run $15-$40 for a single bottle. Making your own saves money and reduces packaging waste.
Final Thoughts
Making your own natural face toner is one of the easiest and most rewarding DIY skincare projects you can try. With just a few simple ingredients, you can create a toner that’s perfectly matched to your skin type — without the chemicals, preservatives, and high price tags of commercial products.
Start with the recipe that suits your skin best, make a small batch, and enjoy the glow that comes from treating your skin with pure, natural ingredients. Once you’ve added toner to your routine, complete your skincare ritual with Aida Skin Care’s Facial Glow Oil or Body Glow Oil for radiant, nourished skin from head to toe.
Recommended Products
Pair your DIY toner with these Aida Skin Care essentials for the best results:
- Facial Glow Oil — Apply after toning for deep nourishment and a radiant complexion
- Body Glow Oil — Extend your skincare ritual to your whole body for all-over luminosity
- Smoothing Body Butter — Lock in moisture with this rich, botanical shea butter formula