
“`html
How to Make Your Own Natural Lip Balm at Home (And Why You’ll Never Go Back)
Turn over a standard supermarket lip balm and read the label. Petroleum jelly. Parabens. Synthetic fragrance. Mineral oil derived from crude oil. Not exactly the kind of thing you want to apply to one of the most sensitive — and most frequently licked — parts of your face.
The good news? Making your own natural lip balm at home is genuinely one of the easiest, most satisfying DIY botanical skincare projects you can try. With a handful of pure, plant-based ingredients, a double boiler, and about 30 minutes, you can create a nourishing lip balm that rivals anything you’d find in a premium natural beauty boutique.
At AIDA Natural Beauty, we believe your skincare — from head to toe, lips included — deserves to be as close to nature as possible. This recipe is our go-to, and once you’ve tried it, we think it’ll become yours too.
Why Homemade Natural Lip Balm Is Worth Making
Before we get into the recipe, let’s talk about why this is worth your time. Because it genuinely is.
It’s free from harmful ingredients
No petroleum derivatives, no parabens, no PEGs, no synthetic fragrance. Just real botanicals doing what they’ve done for centuries — protecting and healing skin naturally.
It actually moisturises
Most conventional lip balms create a surface film that mimics moisture but doesn’t deliver it. Real butters and plant oils — like the shea butter and sweet almond oil in this recipe — penetrate the skin barrier and provide genuine, lasting hydration. The same philosophy behind our AIDA Facial Glow Oil and Body Glow Oil: botanical ingredients that work with your skin, not just on top of it.
It’s fully customisable
Choose your scent, your texture, even add a subtle tint. This is skincare you make for you.
It’s cost-effective and low-waste
One batch makes 10–12 lip balm tubes for a fraction of the cost of premium natural balms. Reuse your containers and you’ve also got a genuinely zero-waste beauty staple.
It’s safe for sensitive skin
With no common irritants, synthetic preservatives, or artificial fragrances, this balm is gentle enough even for reactive lips.
Natural Lip Balm Ingredients: What You Need and Why
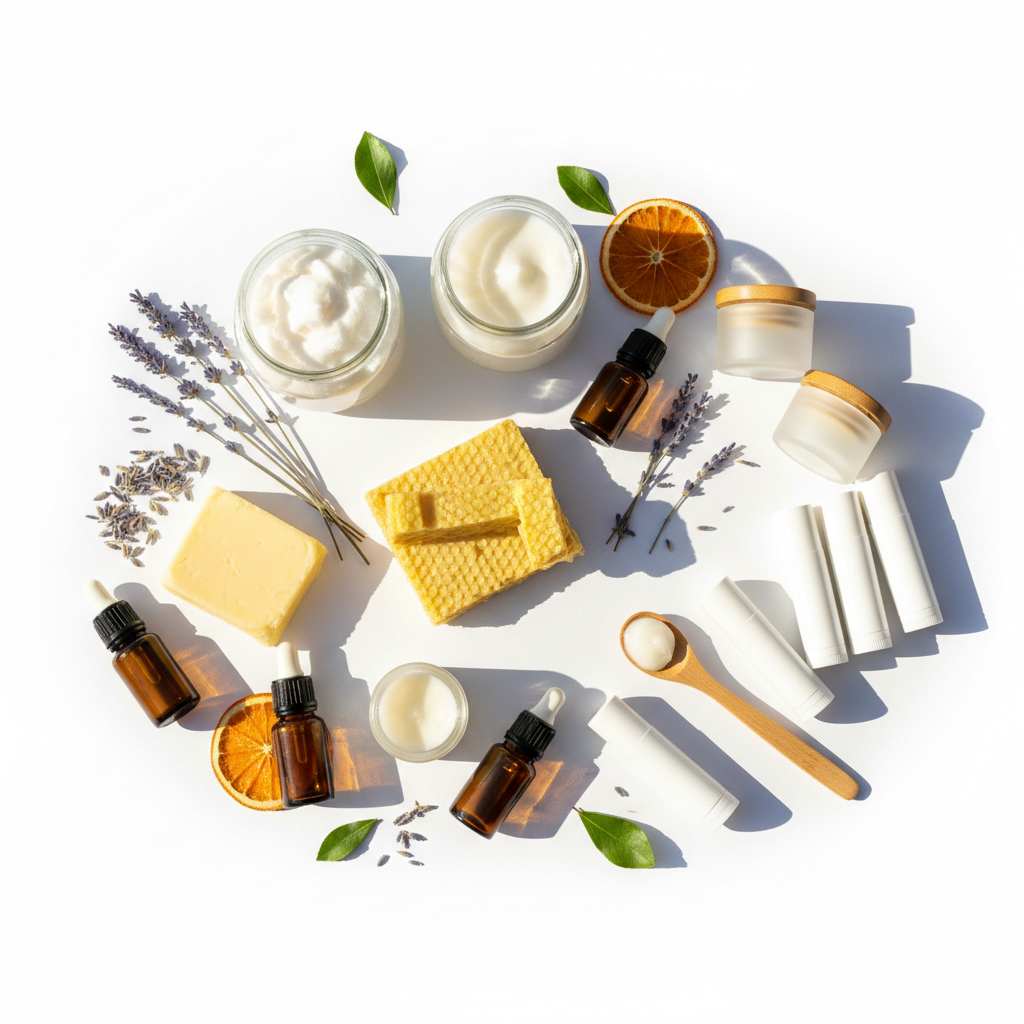
This recipe makes approximately 10–12 lip balm tubes or 4–6 small tins. Every ingredient earns its place.
| Ingredient | Amount | What It Does |
|---|---|---|
| Beeswax (pellets or grated) | 2 tablespoons (30 ml) | Creates structure and hardness; forms a protective barrier that seals in moisture |
| Virgin Coconut Oil (unrefined) | 2 tablespoons (30 ml) | Deeply moisturising with natural antimicrobial properties |
| Raw Shea Butter (unrefined) | 1 tablespoon (15 ml) | Rich in vitamins A and E; intensely nourishing and anti-inflammatory |
| Sweet Almond Oil (or Jojoba Oil) | 1 tablespoon (15 ml) | Lightweight carrier oil; absorbs well and delivers vitamin E |
| Vitamin E Oil | ½ teaspoon | Natural antioxidant and preservative; extends shelf life |
| Essential Oil of your choice | 10–15 drops | Natural scent and flavour (peppermint, lavender, sweet orange, and more) |
| Raw Honey (optional) | ½ teaspoon | Natural humectant that draws moisture to the lips; adds a subtle sweetness |
All ingredients are available online or at most health food stores. Always choose unrefined, cold-pressed oils and butters where possible — the less processed, the more nutrient-rich.
Tools You’ll Need
- Double boiler (or a heatproof bowl set over a small saucepan)
- Wooden stir stick or silicone spatula
- Lip balm tubes or small tins
- Small dropper, pipette, or pouring jug
- Kitchen scale or measuring spoons
- Small funnel (optional, but very helpful)
Step-by-Step: How to Make Natural Lip Balm at Home
Step 1: Sanitise Everything First
This step is non-negotiable. Because this lip balm contains no synthetic preservatives, cleanliness directly affects its shelf life and safety. Wash all tools and containers in hot soapy water, rinse thoroughly, then wipe down with rubbing alcohol. Leave everything to air dry completely before you begin.
Step 2: Set Up Your Double Boiler
Pour about 5 cm (2 inches) of water into a small saucepan and bring it to a gentle simmer. Place your heatproof bowl on top — the bottom of the bowl should sit above the water, not in it. This gentle, indirect heat melts your ingredients without scorching them.
Step 3: Melt the Beeswax
Add the beeswax pellets to the bowl first. Beeswax has the highest melting point of all your ingredients, so give it a head start. Stir occasionally and let it melt completely — it’ll turn clear and glossy when ready.
Step 4: Add the Shea Butter, Coconut Oil, and Sweet Almond Oil
Once the beeswax is fully melted, add the shea butter and allow it to soften for about a minute before stirring. Then add the coconut oil and sweet almond oil. Stir everything together gently until the mixture is completely liquid, smooth, and beautifully golden. This is where the magic starts to smell incredible.
Step 5: Remove from Heat and Add Your Actives
Take the bowl off the heat and allow it to cool for 30–60 seconds — you want it liquid but not scorching, as high temperatures can degrade the beneficial properties of your essential oils and vitamin E. Add the vitamin E oil, your chosen essential oil, and honey if using. Stir gently but thoroughly to combine.
Step 6: Pour into Your Containers
Work with purpose here — the mixture will begin to thicken as it cools. Using a small funnel or pipette, carefully pour or transfer the liquid balm into your tubes or tins. Fill each one almost to the top; the balm will settle slightly as it sets. Tilt lip balm tubes at a slight angle as you pour to minimise air bubbles.
Step 7: Allow to Set at Room Temperature
Leave the balms undisturbed on a flat surface to cool and solidify for at least 2 hours. Do not put them in the fridge — the rapid temperature change can cause the mixture to separate or develop an unpleasant grainy texture. Once fully set, cap them up. Your natural lip balms are ready.
Shelf life: Stored in a cool, dry place away from direct sunlight, these lip balms will keep for up to 12 months. The vitamin E oil helps extend this naturally.
Scent and Flavour Variations to Try
This is where you make the recipe your own. Here are five tried-and-tested combinations we love.
Cooling Peppermint
Add 12–15 drops of peppermint essential oil. The menthol gives a refreshing tingle and gently stimulates circulation for a naturally plumper look. A classic for a reason.
Calming Lavender and Chamomile
Add 8 drops of lavender essential oil and 4 drops of chamomile essential oil. Soft, floral, and wonderfully soothing — this one was made for an evening lip treatment before bed.
Zesty Sweet Orange and Vanilla
Add 8 drops of sweet orange essential oil and ¼ teaspoon of alcohol-free vanilla extract. Warm, cheerful, and utterly irresistible. A firm favourite for autumn and winter.
Rose and Geranium
Add 6 drops of geranium essential oil and 5 drops of rose absolute (or rose otto if your budget stretches). Romantic, balancing, and genuinely luxurious. Think of this as your botanical self-care moment.
Unflavoured, Unscented
Simply skip the essential oils entirely. This version is ideal for very sensitive skin, young children, or anyone who prefers a completely neutral balm. The base ingredients alone are beautifully nourishing.
How to Add a Natural Tint
If you’d like a touch of colour, add a small amount of cosmetic-grade beetroot powder or mica powder to the melted mixture before pouring. Start with ¼ teaspoon, stir well, and adjust to your desired depth of colour. Always use cosmetic-grade colourants — food dyes behave differently and may bleed.
Troubleshooting: Common Issues and How to Fix Them
My lip balm is too soft
Increase the beeswax by half a teaspoon in your next batch. Warmer climates and high summer temperatures can also soften the balm — store it somewhere cool if this is an issue.
My lip balm is too hard or waxy feeling
Reduce the beeswax slightly, or increase the sweet almond oil by half a teaspoon. You’re looking for a balance between structure and slip.
The texture is grainy or bumpy
This is usually caused by cooling too quickly (especially in the fridge) or by the shea butter recrystallising. Gently remelt the batch, stir well, and allow to cool slowly at room temperature.
The balm has separated
Again, remelt and stir more thoroughly this time. Make sure all ingredients are fully liquid and combined before pouring, and avoid adding water-based ingredients — they won’t blend with oils and can cause spoilage.
Take Your Natural Beauty Ritual Further
Making your own lip balm is a wonderful entry point into botanical skincare — but your lips are just the beginning. If you love the idea of treating your skin to pure, plant-based nourishment from head to toe, explore the AIDA Natural Beauty range.
Our AIDA Facial Glow Oil brings the same philosophy of pure botanical ingredients to your face — a blend of nourishing plant oils that hydrate, brighten, and support your skin’s natural radiance without a drop of synthetic filler. For your body, the AIDA Body Glow Oil delivers deep, luminous hydration that absorbs beautifully without leaving a greasy residue. And if your skin is craving something richer, the AIDA Smoothing Body Butter is an indulgent, intensely nourishing treat — particularly for dry elbows, knees, and feet.
Because natural beauty isn’t just a product — it’s a practice. And every small, intentional choice you make for your skin adds up to something meaningful.
Natural Lip Balm Recipe: Quick Reference
| Step | Action |
|---|---|
| 1 | Sanitise all tools and containers |
| 2 | Set up double boiler on gentle simmer |
| 3 | Melt beeswax until fully clear |
| 4 | Add shea butter, coconut oil, sweet almond oil — stir until smooth |
| 5 | Remove from heat; add vitamin E, essential oil, and honey |
| 6 | Pour into tubes or tins |
| 7 | Cool at room temperature for 2 hours; cap and store |
Makes 10–12 lip balm tubes. Shelf life: up to 12 months stored correctly.
“`