
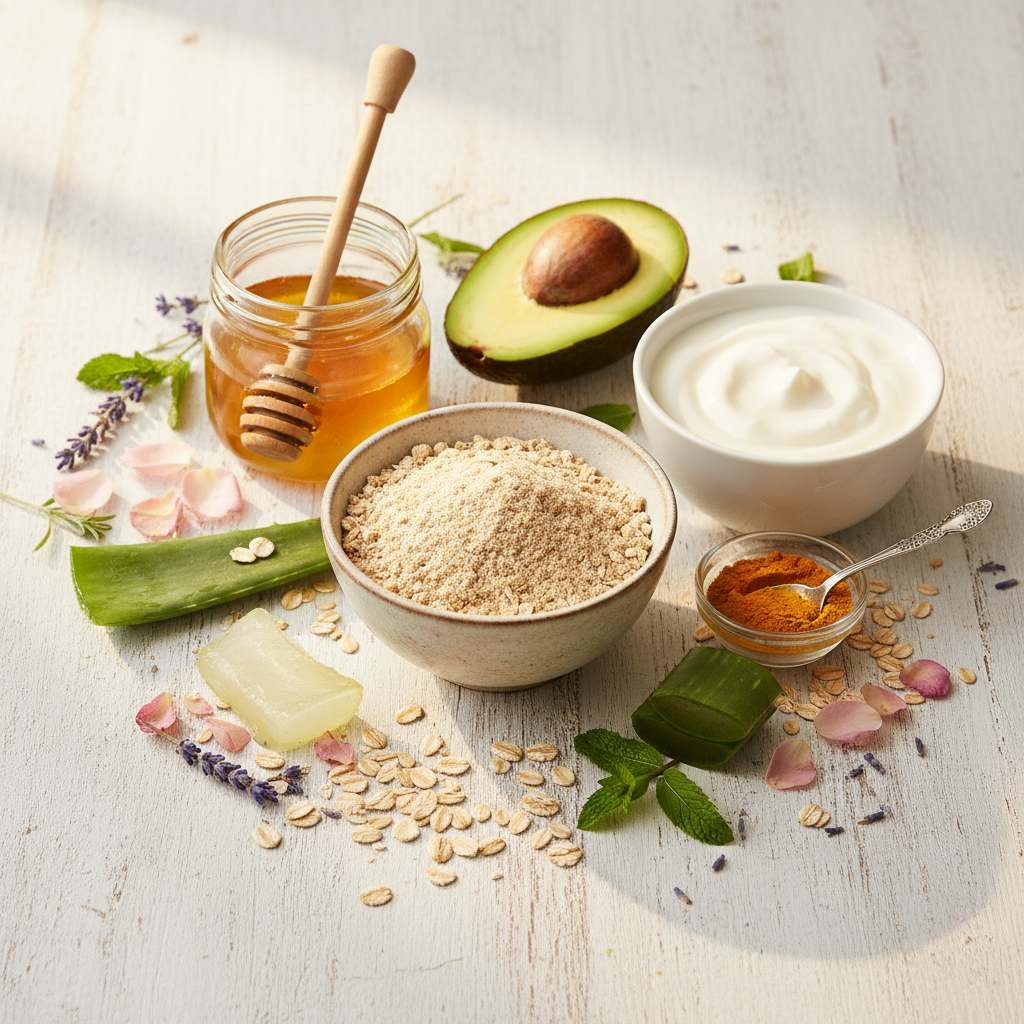
5 Homemade Face Mask Recipes Your Skin Will Actually Thank You For
Your skin deserves better than a list of unpronounceable ingredients. Homemade face masks are one of the easiest ways to feed your skin with real, purposeful nutrition — straight from your kitchen, tailored to exactly what your complexion needs right now. No synthetic fragrances. No hidden preservatives. Just honest, botanical skincare that works.
Whether your skin is crying out for hydration, craving a deep cleanse, or just looking a little dull after a long week, there’s a recipe below for you. And because great masking is only half the ritual, we’ll also show you how to seal in every drop of goodness with the right finishers.
Why Make Your Own Face Masks?
Most store-bought masks — even the ones marketed as “natural” — contain stabilisers, synthetic preservatives, and artificial fragrances that can quietly aggravate sensitive skin over time. When you make your own, you control every single ingredient that touches your face. That’s not a small thing.
There’s also the freshness factor. A mask made with ripe avocado and raw honey five minutes before you use it is nutritionally alive in a way that a product sitting in a foil pouch simply isn’t. And the cost? Most of what you need is already in your kitchen.
Before You Start: Tools and Prep Tips
You don’t need much — just a few basics that set you up for a smooth, hygienic masking session.
- Small ceramic or glass mixing bowls — non-porous, easy to clean, and they won’t react with ingredients like clay
- Measuring spoons — consistency matters, especially when working with actives like turmeric or tea tree oil
- A soft face brush or clean fingertips — for an even, gentle application
- A clean face cloth — warm it up for a gentle steam before you apply
- Patch test, always — dab a small amount on your inner arm and wait 24 hours before going full-face with any new recipe
Pro tip: Steam your face over a bowl of warm water for 3–5 minutes before applying your mask. Open pores absorb active ingredients more effectively, and your skin will be primed and ready.
Recipe 1: Soothing Oatmeal & Honey Mask
Best for: Sensitive, Irritated, or Dry Skin
This is the gentle one — the mask you reach for when your skin feels reactive, tight, or just plain unhappy. Finely ground oats are rich in beta-glucan, a compound clinically recognised for reducing redness and calming inflammation. Raw honey complements beautifully: it’s a natural humectant that draws moisture deep into the skin, and its gentle antibacterial action makes it ideal for sensitive or breakout-prone skin that can’t tolerate harsher treatments.
Ingredients
- 2 tablespoons rolled oats, finely ground
- 1 tablespoon raw honey
- 1–2 tablespoons warm water, as needed
Method
- Blitz the oats in a clean blender or coffee grinder until they form a fine, flour-like powder.
- Combine the oat flour with honey and add warm water gradually until you have a smooth, spreadable paste.
- Apply evenly to clean, lightly damp skin, avoiding the eye area.
- Leave on for 15–20 minutes while you relax.
- Rinse with lukewarm water, gently massaging in small circular motions as you remove the mask — this doubles as a mild physical exfoliant.
- Pat dry and follow immediately with your moisturiser.
Recipe 2: Hydrating Avocado & Yogurt Mask
Best for: Dry, Flaky, or Dehydrated Skin
When your skin is parched and dull, this is the mask you need. Avocado is one of nature’s most generous skin foods — loaded with oleic acid, vitamins E and C, and antioxidants that repair and deeply nourish. Plain yogurt brings lactic acid to the equation: a gentle AHA that dissolves dead surface cells while simultaneously conditioning. The result is skin that feels genuinely fed, not just coated.
Ingredients
- ¼ ripe avocado
- 1 tablespoon plain full-fat yogurt
- 1 teaspoon raw honey (optional, for extra moisture)
Method
- Mash the avocado in a small bowl until completely smooth — no lumps.
- Stir in the yogurt and honey until you have a creamy, uniform mixture.
- Apply generously to clean skin, taking a moment to press it gently into the face rather than just spreading it on top.
- Leave on for 15 minutes.
- Rinse with cool water, pat dry, and follow with a nourishing facial oil while your skin is still slightly damp to lock in the hydration.
After rinsing, our Facial Glow Oil makes an ideal finishing step here. Its blend of jojoba, apricot, and avocado oils mirrors the recipe’s nourishing intent, sealing everything in without ever feeling heavy or greasy.
Recipe 3: Purifying Green Clay & Tea Tree Mask
Best for: Oily, Combination, or Acne-Prone Skin
French green clay — also known as illite clay — is a powerhouse for congested pores. Its fine mineral particles work like a magnet, drawing excess sebum, environmental pollutants, and impurities out of the skin without the harshness of chemical-based treatments. Tea tree oil adds targeted antibacterial action, making this mask particularly effective when breakouts are forming. The key with any clay mask is to remove it while still slightly damp — letting it dry completely can strip too much moisture and leave skin tight and reactive.
Ingredients
- 1 tablespoon green clay powder
- 1 tablespoon raw apple cider vinegar or rose water
- 2 drops tea tree essential oil (optional)
Method
- Combine the clay powder with apple cider vinegar or rose water in a non-metal bowl — clay reacts with metal and loses some of its effectiveness.
- Stir into a smooth, spreadable paste, adjusting liquid as needed.
- Add tea tree oil if using and mix through evenly.
- Apply a uniform layer across the face, avoiding the eye area.
- Leave on for 10–15 minutes. Watch for when it begins to lighten but remove before it dries completely.
- Rinse with warm water using gentle circular motions.
- Finish with a light moisturiser — oily skin still needs hydration after a clay treatment.
Recipe 4: Brightening Turmeric & Yogurt Mask
Best for: Dull Skin, Dark Spots, and Uneven Tone
Turmeric has been central to Ayurvedic beauty rituals for thousands of years — and modern cosmetic science has since validated why. Its active compound, curcumin, has potent anti-inflammatory and antioxidant properties that visibly brighten the complexion and help fade hyperpigmentation over time. Paired with yogurt’s exfoliating lactic acid and honey’s hydrating support, this is a glow-boosting treatment that genuinely delivers.
Ingredients
- 1 teaspoon turmeric powder
- 1 tablespoon plain yogurt
- 1 teaspoon raw honey
Method
- Mix all three ingredients in a small bowl to form a smooth, golden paste.
- Apply evenly to clean skin.
- Leave on for 10–15 minutes — no longer, as the turmeric can begin to stain at extended contact.
- Rinse thoroughly with warm water, using a face cloth to ensure no residue remains.
- Pat dry and moisturise immediately.
Staining tip: Turmeric will temporarily tint paler skin tones golden-yellow. A thorough rinse resolves this, but if you’re concerned, apply a very thin layer of yogurt to your skin before the mask as a gentle barrier. Avoid white towels during rinse-off.
Recipe 5: Calming Aloe Vera & Cucumber Mask
Best for: Redness, Sunburn, Rosacea, or Inflamed Skin
When your skin is hot, irritated, or reactive — whether from sun exposure, environmental stress, or a flare-up — this is the mask to reach for. Aloe vera gel is one of the most well-documented skin-calming botanicals in existence: it cools on contact, reduces inflammation, and delivers a burst of hydration without any heaviness. Cucumber reinforces this with its high water content, natural astringency, and skin-cooling silica. Rose water ties it together with a subtle floral scent and its own gentle anti-inflammatory properties.
Ingredients
- 2 tablespoons fresh aloe vera gel (scraped directly from a leaf is ideal)
- ¼ cucumber, blended
- 1 teaspoon rose water (optional)
Method
- Blend the cucumber until completely smooth, then strain through a fine mesh or muslin cloth to extract just the juice.
- Combine the cucumber juice with the aloe vera gel and rose water, mixing well.
- Apply a generous, even layer to clean skin — this one works beautifully cold from the fridge if your skin needs extra soothing.
- Leave on for 15–20 minutes.
- Rinse with cool water and pat dry very gently.
How to Get the Most Out of Every Mask
The recipes matter — but so does the ritual around them. A few habits make a noticeable difference.
- Start clean. Remove all makeup and cleanse thoroughly before applying any mask. Active ingredients can’t do their job over a layer of SPF and foundation.
- Steam first. A 3–5 minute steam session over a bowl of warm water opens pores and primes skin to absorb rather than resist.
- Respect the timing. More time does not mean more results. Leaving a mask on too long — especially clay or turmeric — can cause irritation or staining. Set a timer.
- Seal everything in. After rinsing, apply your moisturiser or facial oil to skin that’s still slightly damp. This traps all the hydration the mask just delivered. Our Facial Glow Oil works beautifully here — a few drops pressed into damp skin creates a luminous, nourishing finish that completes any masking session.
- Use it fresh. These recipes contain no preservatives. Mix only what you’ll use immediately and discard any leftovers — fresh ingredients can harbour bacteria within hours.
Frequently Asked Questions
How often should I use a homemade face mask?
One to three times per week is the sweet spot for most people. Oily and combination skin types generally respond well to two or three sessions a week, while dry or sensitive skin benefits more from once weekly to avoid over-stimulation.
Can I use these masks if I have sensitive skin?
Yes — but start with the Oatmeal & Honey mask, which is the most gentle of the five. Always patch test on your inner arm 24 hours before applying to your face. If you’re particularly reactive, hold off on the turmeric and tea tree recipes until your skin is feeling more resilient.
How long do DIY face masks keep?
They don’t — and that’s the point. These recipes are formulated without preservatives, which means they should be mixed and used immediately. Storing leftovers in the fridge is not recommended: fresh ingredients lose potency quickly and can develop bacteria within a matter of hours.
Can I combine ingredients from different recipes?
Absolutely. Once you’ve tried each recipe individually and know how your skin responds, you can start customising. A spoonful of avocado added to the oatmeal mask, or a few drops of rose water stirred into the turmeric blend — it’s your skin, your formula. Just keep it focused: three to four ingredients per mask is enough.
What should I apply after a face mask?
Always follow with a moisturiser or facial oil while your skin is still slightly damp from rinsing. This is one of the most effective moments to apply a facial oil — the skin is warm, pores are open, and absorption is at its peak. Our Facial Glow Oil — formulated with jojoba, apricot kernel, and avocado oils — was designed for exactly this step.
Complete Your Clean Beauty Ritual
A great face mask is the centrepiece of your skincare ritual — but the steps before and after it matter just as much. These AIDA Natural Beauty products are formulated with the same clean-ingredient philosophy as every recipe in this guide.
- Facial Glow Oil — The ideal post-mask finisher. Lightweight jojoba, apricot, and avocado oils absorb quickly, leaving skin visibly nourished without clogging pores. Suitable for all skin types.
- Body Glow Oil — Don’t stop at your face. Extend the ritual with full-body nourishment that leaves skin genuinely radiant from neck to toe.
- Smoothing Body Butter — Rich, melting hydration for areas that need a little extra care. Perfect as a post-bath ritual alongside your masking routine.
Every AIDA product is vegan, cruelty-free, and made with 100% natural ingredients — the same standard we hold every recipe in this guide to.
The Bottom Line
Homemade face masks are one of the most accessible, effective, and honest things you can do for your skin. No ingredient lists to decode. No synthetic fillers. Just real botanicals, doing what they’ve always done — nourishing, calming, brightening, and healing.
Pick the recipe that speaks to where your skin is right now, take ten minutes for yourself, and see what a difference clean ingredients can make. Your skin is worth it.