
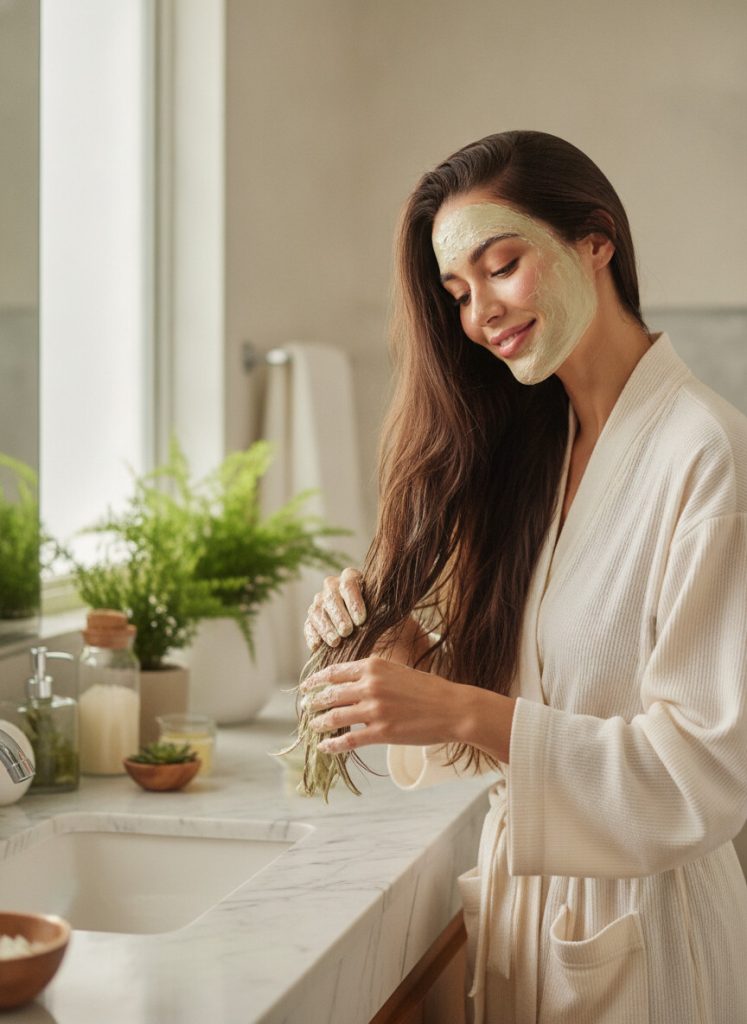
If your hair feels dry, dull, or damaged from heat styling and colouring, the fix might already be sitting in your kitchen. Homemade hair masks are one of the easiest and most affordable ways to deep-condition your hair using natural, nourishing ingredients you can actually pronounce. No silicones, no synthetic fragrance, no mystery chemicals — just real food for your strands.
In this step-by-step tutorial, you’ll learn how to make DIY hair masks at home for every hair type, from dry and frizzy to oily and fine. We’ll cover exactly what each ingredient does, how to apply a hair mask properly, and how often to use one for soft, shiny, healthy hair.
Why Make Your Own Homemade Hair Mask?
Store-bought deep conditioners often rely on silicones and waxes that coat the hair to fake a smooth feel. Over time, that buildup can leave hair limp and lifeless. A natural homemade hair mask works differently — the ingredients penetrate and genuinely nourish the hair shaft and scalp.
Here’s why DIY hair masks are worth the few minutes it takes to make one:
- You control every ingredient. No parabens, sulphates, or synthetic fragrance.
- They’re budget-friendly. Most recipes cost a fraction of a salon treatment.
- They’re customisable. Tailor the mask to your exact hair type and concern.
- They deliver real nutrients. Healthy fats, vitamins, and proteins your hair can use.
What You’ll Need: The Hair Mask Toolkit
Before you start, gather a few basics. These tools make application clean and easy:
- A medium mixing bowl (glass or ceramic)
- A fork or small whisk for blending
- A blender for chunky ingredients like banana or avocado
- An applicator brush (optional, but great for even coverage)
- A wide-tooth comb to distribute the mask
- A shower cap or plastic wrap
- An old towel you don’t mind staining
5 Easy DIY Hair Mask Recipes
Each recipe below is designed around a specific hair need. Pick the one that matches your concern, or rotate through them depending on how your hair feels week to week.
1. Avocado & Honey Mask for Dry, Damaged Hair
Avocado is loaded with healthy fats, vitamin E, and biotin that soften and strengthen brittle strands. Honey is a natural humectant, meaning it draws moisture into the hair and locks it in.
Ingredients:
- 1 ripe avocado
- 2 tablespoons raw honey
- 1 tablespoon olive oil or coconut oil
How to make it:
- Scoop the avocado into a bowl and mash until completely smooth (a blender works best to avoid chunks).
- Add the honey and oil, then blend into a creamy paste.
- Apply to damp hair from mid-length to ends, where damage is worst.
- Leave on for 20–30 minutes under a shower cap.
- Rinse thoroughly with lukewarm water, then shampoo as usual.
For an extra moisture boost on your skin while you wait, this is a great time to massage a little Facial Glow Oil into your face and let it absorb during your at-home spa session.
2. Banana & Coconut Oil Mask for Frizz Control
Bananas are rich in potassium, natural oils, and silica, which help smooth the hair cuticle and tame frizz. Coconut oil is one of the few oils proven to penetrate the hair shaft rather than just sit on top.
Ingredients:
- 1 ripe banana
- 2 tablespoons coconut oil (melted)
- 1 teaspoon honey
How to make it:
- Blend the banana until completely smooth — any lumps are hard to rinse out.
- Mix in the melted coconut oil and honey until creamy.
- Work through clean, damp hair from roots to ends.
- Cover with a shower cap and leave for 20 minutes.
- Rinse well and follow with a light shampoo.
3. Yogurt & Egg Protein Mask for Strength
Eggs are packed with protein and biotin that help rebuild weak, over-processed hair. Yogurt contains lactic acid that gently cleanses the scalp while conditioning. This mask is ideal if your hair feels limp or breaks easily.
Ingredients:
- 1 whole egg
- 3 tablespoons plain full-fat yogurt
- 1 tablespoon olive oil
How to make it:
- Whisk the egg in a bowl until smooth.
- Add the yogurt and olive oil, mixing into a uniform paste.
- Apply to damp hair, focusing on roots and lengths.
- Leave for 15–20 minutes — do not exceed this, as protein masks can stiffen hair if left too long.
- Rinse with cool water only (hot water will cook the egg), then shampoo lightly.
4. Aloe Vera & Tea Tree Mask for Oily Scalp
If your roots get greasy fast, this clarifying mask balances oil production without stripping the scalp. Aloe vera soothes and hydrates, while tea tree oil has natural antibacterial properties that keep the scalp fresh.
Ingredients:
- 4 tablespoons fresh aloe vera gel
- 3–4 drops tea tree essential oil
- 1 teaspoon apple cider vinegar
How to make it:
- Mix the aloe vera gel with the apple cider vinegar.
- Add the tea tree oil and stir well.
- Massage into the scalp and roots, then comb through to the ends.
- Leave for 15 minutes.
- Rinse thoroughly and shampoo as normal.
5. Oatmeal & Almond Oil Mask for an Itchy Scalp
Colloidal oatmeal is wonderfully soothing for a dry, flaky, or irritated scalp. Almond oil adds lightweight moisture without weighing hair down, making this a gentle choice for sensitive scalps.
Ingredients:
- 3 tablespoons finely ground oats
- 2 tablespoons almond oil
- 2 tablespoons warm water (to loosen)
How to make it:
- Grind the oats into a fine powder using a blender.
- Mix with the almond oil and warm water to form a spreadable paste.
- Massage gently into the scalp in circular motions.
- Leave for 20 minutes.
- Rinse thoroughly and cleanse with a mild shampoo.
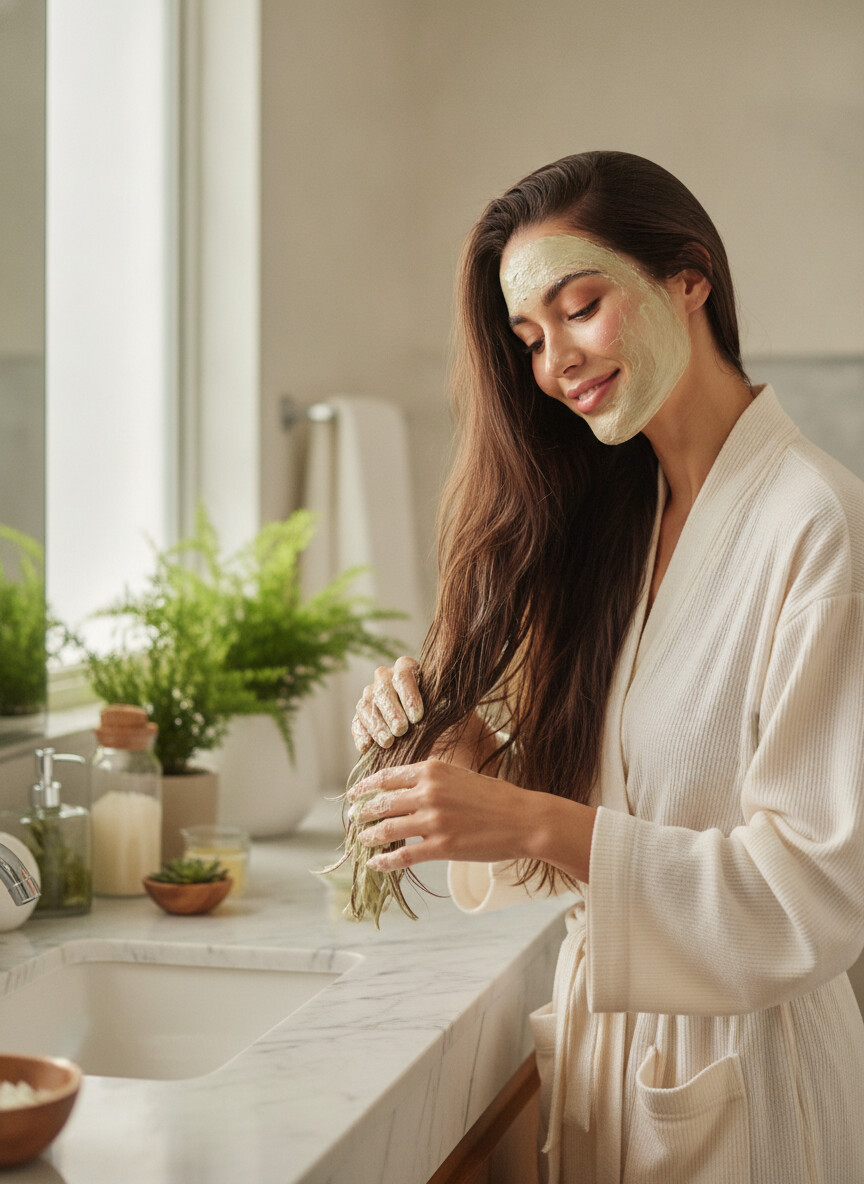
How to Apply a Hair Mask the Right Way
Making the mask is only half the job — applying it correctly is what delivers results. Follow these steps for the best outcome:
- Start with damp, towel-dried hair. Slightly wet hair absorbs ingredients better than soaking-wet or bone-dry hair.
- Section your hair. Divide into four sections so the mask reaches every strand evenly.
- Apply where you need it. For dry hair, focus on mid-lengths and ends. For scalp concerns, work it into the roots.
- Comb it through. A wide-tooth comb distributes the mask and detangles at the same time.
- Cover and wait. A shower cap traps warmth and helps ingredients penetrate. For a deeper treatment, wrap a warm towel over the cap.
- Rinse properly. Use lukewarm or cool water and take your time — leftover residue can make hair feel heavy.
How Often Should You Use a Hair Mask?
It depends on your hair type and condition:
- Dry or damaged hair: Once or twice a week.
- Normal hair: Once a week as maintenance.
- Oily hair: Once every week or two, focusing on the scalp.
- Protein masks specifically: No more than once every two weeks to avoid protein overload, which can make hair brittle.
Tips for Better Results
- Always use fresh ingredients. Homemade masks have no preservatives, so make only what you’ll use in one session.
- Do a patch test. If you’re using essential oils like tea tree, test on your inner arm first to rule out irritation.
- Don’t skip the rinse. Egg and banana especially need thorough rinsing with cool water.
- Seal in moisture afterward. A few drops of natural oil on damp ends locks in the benefits.
- Be consistent. One mask won’t transform your hair — regular use is where you see real change.
Extend the Glow Beyond Your Hair
A deep-conditioning session is the perfect excuse to care for the rest of you, too. While your mask works its magic, treat your skin to the same natural, botanical approach. Aida Skin Care’s plant-based oils and butters are made with the same philosophy as these DIY recipes: real, nourishing ingredients and nothing you don’t need.
Try smoothing a little Body Glow Oil over your arms and shoulders for a luminous finish, or massage Smoothing Body Butter into dry elbows and knees for rich, lasting hydration. It turns a simple hair treatment into a full at-home spa ritual.
Frequently Asked Questions
Can I leave a hair mask on overnight?
Oil-based masks (like coconut or almond oil) can be left on overnight under a cap, but avoid this with protein masks containing egg or yogurt, which can dry out and stiffen hair. For most masks, 20–30 minutes is plenty.
Should I apply a hair mask to wet or dry hair?
Damp, towel-dried hair is ideal. It’s wet enough for ingredients to spread and absorb, but not so wet that the mask slides off or gets diluted.
Do I shampoo before or after a hair mask?
For most masks, apply to clean, damp hair after shampooing, then rinse. Oil-heavy masks are the exception — you may want to shampoo afterward to remove excess oil.
How long do homemade hair masks last?
Because they contain no preservatives, use them immediately. Don’t store leftovers — fresh food ingredients spoil quickly and can grow bacteria.
Will hair masks help with hair growth?
Masks won’t directly speed up growth, but a healthy, well-nourished scalp and reduced breakage mean your hair retains length better and looks fuller and healthier over time.
Recommended Products
Round out your natural hair and skincare ritual with these botanical favourites from Aida Skin Care:
- Facial Glow Oil — A lightweight botanical face oil for radiant, hydrated skin. Perfect to apply while your hair mask sets.
- Body Glow Oil — A nourishing body oil that leaves skin soft, smooth, and luminous from head to toe.
- Smoothing Body Butter — Rich, deeply hydrating body butter for soft, supple skin all day long.
With a few simple kitchen ingredients and the right natural products, you can give your hair and skin the deep, botanical care they deserve — no salon visit required.